Five Xactimate Tips for CAT Season

Storm season is here – along with the regular increase in restoration jobs heading your way. For many, Xactimate is one of the most essential tools for sketching, scoping, and estimating damages from virtually any kind of event.
Whether you’re a veteran contractor or just learning the ins and outs of Xactimate, these five tips can help you speed up your estimating work and accomplish more each workday.
1. Get Started – Before You Arrive
In restoration, time is everything – especially during storm season. Unfortunately, the path to reconstruction can be long for both policyholders and the restoration pros on the front lines.
Xactimate uses a new technology called Image-to-Scope™ that helps you get dimensions and other critical data before you even reach the site. Using data from geospatial firm Geomni (an Xactware sister-company, allows Xactimate to automatically incorporate aerial dimensions, material identification, and structural detail data to build your estimate with only a few clicks.
For example, once you decide which face of a roof to replace – and the type of shingle to replace it with – Xactimate does the rest, adding all of the associated line items necessary for a complete estimate that’s right the first time.
Your estimate is nearly finished. And you haven’t even arrived at the site.
2. Make Collaboration Easy
Most restoration jobs have many players. Between handling homeowner requests, conferring with adjusters, and coordinating with other contractors, keeping everyone current with the latest information can be a challenging to say the least.
To address this challenge, many Xactimate users take advantage of another integrated Xactware product: ClaimXperience.
ClaimXperience is an online collaborative portal where contractors, homeowners, adjusters, and other parties can share claim-related info, photos, estimates, schedules, and communications.

A restoration pro can stream live video to an adjuster to show progress, unexpected damage, or other timely information.
You can add photos and notes, and see customer feedback at any point during the restoration. A calendar function helps you see everyone’s availability, so scheduling appointments is conflict-free.
Ultimately, ClaimXperience provides accurate, timely information that minimizes miscommunication and streamlines decision-making.
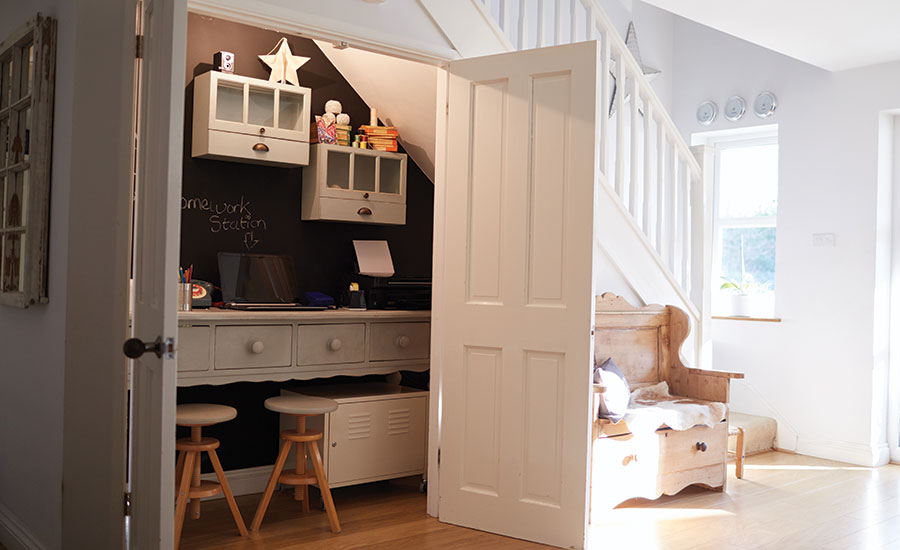
3. Add Items Underneath Stairs
In many homes, the space beneath the staircase too often remains an unfinished, vacant space good for nothing but additional storage. But in other homes, that area may be a closet, a playroom, or even a bathroom.
In Xactimate, the items pane doesn’t distinguish between the staircase and the room below the staircase. So how does one place estimated items into this unique space within Xactimate?
Just follow these steps.
- Open an estimate.
- On the Sketch tab, add a room and a staircase.
- Click the View button near the bottom right of the sketch workspace, and select Rooms below Stairs.
- Select the Options tab at the top of your screen, then the Visible Windows button. Select Search.
- Use the search pane to find an item to place below the stairs. For example, if you wanted to add carpet to the room under the stairs, you would search for and select FCCAV. Then you would select the staircase area. The added item should appear in the Items pane.
- To return to the original sketch view, click View, and select Rooms Below Stairs.
Voila! Your under-the-staircase space is now added to your estimate.

4. Give Mobile (Another) Try
It’s been awhile since the initial release of Xactimate mobile. Since its first release, Xactimate mobile has evolved into a major mobile estimating system capable of handling restoration jobs of any size or complexity. And major new changes are coming all the time.
With Xactimate mobile, you can receive an assignment, build a model of the structure using Sketch, estimate for structural and contents, settle onsite, and upload the assignment back to your client – right from a mobile iOS or Android device.
Plus, Xactimate mobile automatically syncs your work other versions of the tool (desktop and online), so you never miss a beat.
This app is a timesaver that helps you get much more done in the field. It’s definitely worth a first (or second) look.
5. Use Preferences Like A Boss
If you haven’t peeked at your preferences lately, take a moment to do so. You may find a setting that saves you time in the long run.
For example, say you’re working a near total loss with all demolition entered as a lump sum. Rather than individually changing each price list item from “remove and replace” to just “replace,” you can adjust your preferences to do this by default. You’ll appreciate eliminating the extra clicks and keystrokes by the time the job is finished.
There are many preferences like this that can be adjusted to make it faster and easier to estimate, depending on the job you’re working on. Other preferences include:
- Set default loss details like the city, state, date of loss, type of loss, category code, and cause of loss
- Set default price lists, including list, tax jurisdiction, and filter
- Set depreciation type to recoverable or non-recoverable, and set the price to depreciate by percentage, amount, or age/condition
- Set calculation options like apply labor minimums, new construction, and distribute market conditions.,
- Set view defaults and adjust settings to personalize what you see in your Sketch workspace
- And tons more
In a busy day, every second and every keystroke counts. By following these and other Xactimate tips, you can accomplish more work in less time.
Looking for a reprint of this article?
From high-res PDFs to custom plaques, order your copy today!


