New Tools Bring Success to Mold Projects: Microfiber Cloths
Part II: Microfiber Cloths


The first article in this series ended with a discussion on using fogging to assist particle control, and the importance of proper droplet size. Smaller, light particles tend to be more effective because they are then similar or smaller in size than the particles being removed from the air.
Just like smaller water droplets do a better job of collecting smaller particles, the same can be said for fibers in a cleaning cloth. The smaller the fiber size, the more effective a cloth is at capturing and removing small particles. Cotton and nylon, the two materials most prevalent in standard cleaning cloths, have fiber diameters that generally range from 10 to 50 microns1. In contrast, lower grade microfiber cloths have fibers with diameters of 1 to 5 microns; with the best ones having fiber sizes in the 0.3 micron range. The small fiber size means that many more strands are present per square inch. The small fibers actually use the van der Waals molecular electrical properties to their advantage (see part 1 of this series from the September issue for more on this!). They are so small that they can interact with the tiny particles and switch the attractive force of the particle from the surface to the fiber. This impressive (or confusing) sounding science explains why microfiber cloths are so efficient at removing small particles.
Of course, this efficiency comes with its own set of drawbacks. The quality of microfiber cloths vary greatly depending on the manufacturer and the intended use. Many restoration contractors who are using such cloths for mold have found that it is better to purchase the ones designed for healthcare use as those products tend to have smaller fiber size. Regardless of the quality of the microfiber cloths, they are best used for final cleaning where no visible debris is present. If microfiber cloths are used for cleaning gross debris, they quickly become overwhelmed and end up just moving contamination from one location to another.
Probably the biggest drawback of microfiber cloths is the fact that they are not “normal” cleaning rags. Janitorial and restoration contractors are used to laundering their cleaning cloths so that they can be reused. However, few contractors are aware that laundering microfiber cloths involves very specific steps and materials. Because of their small size, the microfibers actually attract soap residue and fabric softener to the point that “clean” cloths no longer have any room to pick up small particles. Water that is too hot or the use of bleach will also damage the fibers to the point where their ability to attract dust is worse than a standard cotton rag.
Single Use Microfiber Cloths and Backing Pads
The difficulties of maintaining microfiber cloths in a condition that allows their cleaning properties to be useful is one of the main reasons that the big move in the cleaning industry today is toward single use microfiber cloths. Manufacturing efficiencies helped push this forward as the cost of procuring microfiber cloths has come down dramatically over the last 10 years. This allowed critical industries like healthcare to start taking advantage of the cleaning efficiency and labor reductions which come from single use microfiber cloths for cleaning of microorganisms. Such products2 are now easily available to the restoration industry and have quickly developed a proven track record.
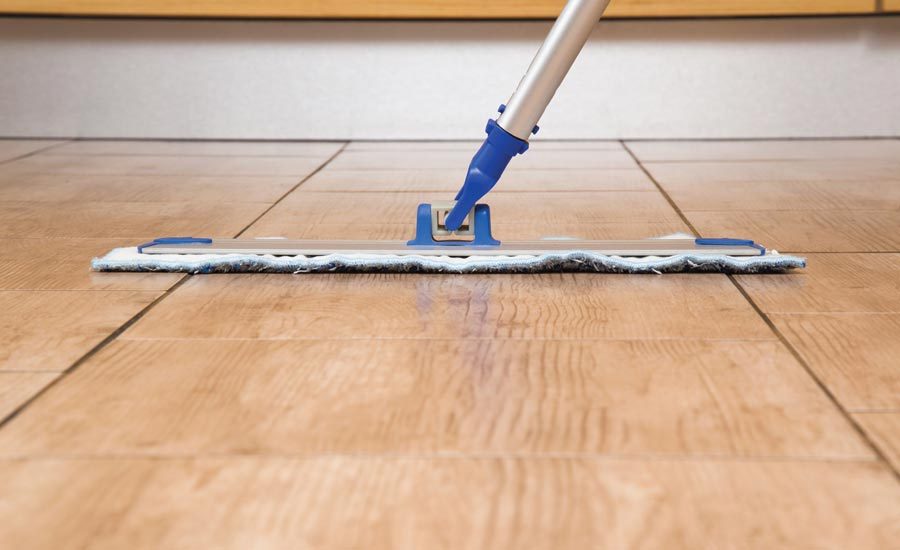
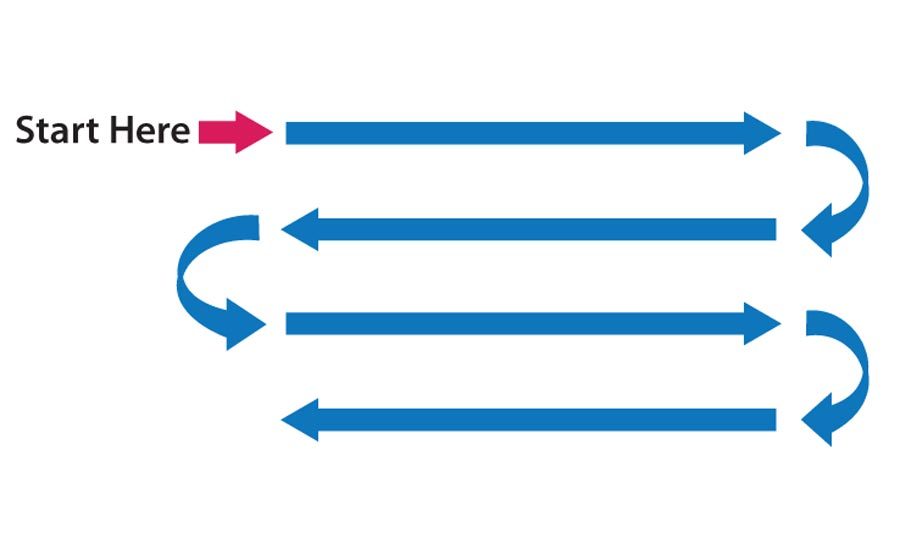
In addition to using the cloth on a frame, there is a trick to using them correctly. The most efficient pick of particles is possible when the leading edge of the mop stays in front (no back and forth mopping), the mop is used in an S wipe mopping pattern, and there is a 20% overlap on each pass of the mop head.
A Case Study Shows How It All Works
Even the best contractors sometimes have difficulty adjusting practices that have worked for years. For many mold remediation contractors, the tried and true process of cleaning using the “HEPA sandwich” (HEPA vacuum, damp wipe, HEPA vacuum) is a work practice almost set in stone. But, as post-remediation clearance criteria get more stringent, contractors need to look at expanding their “toolbox” of work techniques. This is especially true for the final cleaning steps.
A great example of seeing the need to improve their performance and stepping up to some of the work practices discussed above recently occurred with a well-respected restoration contractor. The project in a healthcare facility with mold contamination above the ceiling tile from a history of roof leaks was anything but ordinary. Limited evening and weekend hours, extremely aggressive post-remediation criteria for the work areas, and lots of equipment to protect and work around were some of the most challenging aspects of the project.
Because of the “high stakes” related to the remediation efforts, several smaller projects were conducted to determine the effectiveness of various setup approaches and work practices before a large project was undertaken. One of the early projects involved the isolation of a single room work area. However, to minimize potential cross-contamination to the other sections of the building, that mold project was designed with the construction of a temporary tunnel from the work area entrance to the exit door. While the isolation techniques, engineering controls (negative pressure created by the use of AFDs), and work practices were successful in protecting adjacent areas of the building, the contractor had difficulty passing clearance testing in the tunnel that led from the work area to the exterior door.
After reviewing the sampling data, several ideas were discussed. Since the entire building had not yet been remediated, it was possible that some of the spores were being brought into the cleaner work area from adjacent interior areas. As such, the amount of negative pressure in the tunnel was reduced with some of the AFDs used in an air scrubbing mode.
It was noticed that the sampling data showed most of the problem coming from the smaller, lighter spore types. This information led to the suspicion that spores were clinging to plastic and being dislodged during the sampling sequence. In order to provide more effective removal of the small particulates, the contractor was provided information on new products being offered to the restoration industry, including fogging and microfiber products.
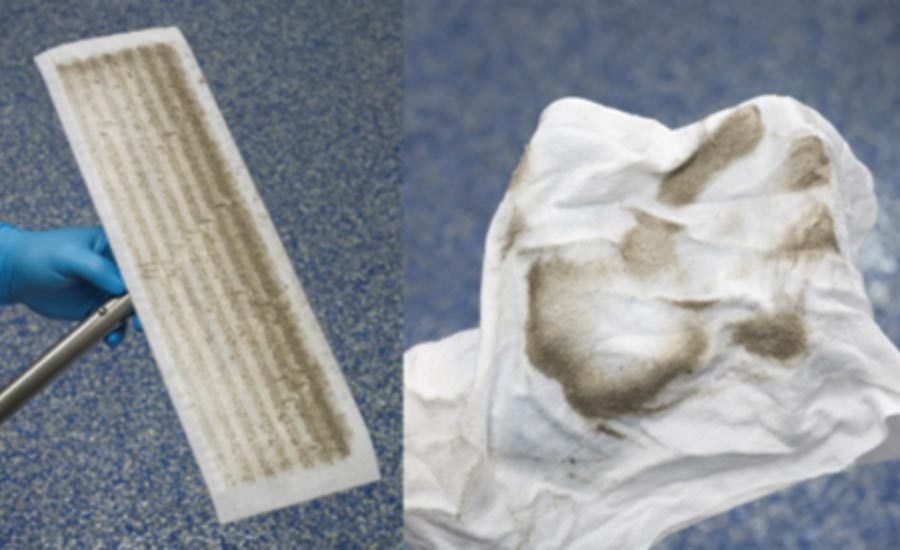
The fogging was a low-cost addition because the contractor already had a ULV device that they used for odor control. Fogging the work area was completed after an additional visual inspection confirmed that there were no small sources of materials trapped in crevices of the plastic or other hidden spaces. Rather than vacuuming for the final cleaning, the contractor substituted the use of microfiber pads on a mop head. The crew volunteered comments about how much faster this process was compared to vacuuming. They were surprised at how much additional debris they collected with the combination of fogging and microfiber mopping. Most importantly, this slight revision of the engineering controls and modification of the cleaning regimen led to the next set of samples passing with “flying colors.”
Control and Elimination of Small Particles Is Critical For Many Projects
Whether it is mold, soot, infectious agents, allergens, irritants, or asthmagens3; cleaning and restoration contractors are being asked to address them on a regular basis to protect the health and safety of building occupants. These days, contractors facing such challenges should consider adjusting the traditional HEPA sandwich cleaning technique and convert it to the “HEPA pizza.” In this approach to particulate removal, the contractor starts with a “crust” of a thorough HEPA vacuuming which is then topped with wet wiping, fogging, and microfiber mopping. What they may find is that in many situations a “pizza” is actually easier to make than a “sandwich”; as long as they are using the right toppings.
Looking for a reprint of this article?
From high-res PDFs to custom plaques, order your copy today!


